

Post by PostmasterGS on Dec 28, 2013 6:55:48 GMT
Because I present my collection in digital form, I often want to show the watermarks on different stamps in a digital format. That's not easy, since normal scanning won't capture a watermark. So, here's the method I use to extract watermarks for digital presentation. It can also be used to ID watermarks, but the success rate is dependent on the clarity of the watermark. I'm lucky in that my collecting area (Germany) typically has easy-to-see watermarks. Your mileage may vary.
For this method to work, you need:
(1) a flatbed scanner capable of scanning film negatives. Most "photo" scanners have this capability, but check your documentation.
(2) photo editing software that can do color curve adjustment. The big 3 -- Photoshop, Photoshop Elements, and Paint Shop Pro X3 -- can all do curve adjustment. I recommend Photoshop or PSP X3, as both allow you to work in CMYK (Cyan, Magenta, Yellow, Black) mode as well as RGB (Red, Green, Blue). The ability to work in CMYK makes this process MUCH easier, and yields much better results. I think the free option, Gimp, will work as well, though it may require a plugin to do CMYK.
All examples shown here were done using an Epson Perfection V350 Photo Scanner with Epson Scan software, and Photoshop CS5.
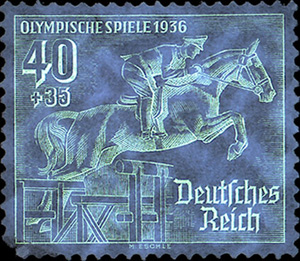
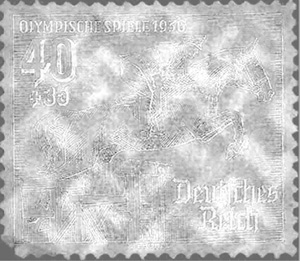
1. The source -- the stamp used for this example is a beat-up copy of Deutsches Reich Mi 616, from the 1936 Summer Olympics set.

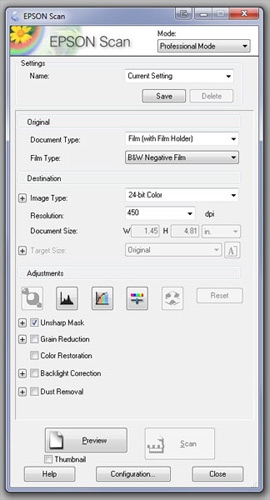
2. In your scanner software, set the scan mode to photo negative.
3. Here's the resulting photo negative scan.
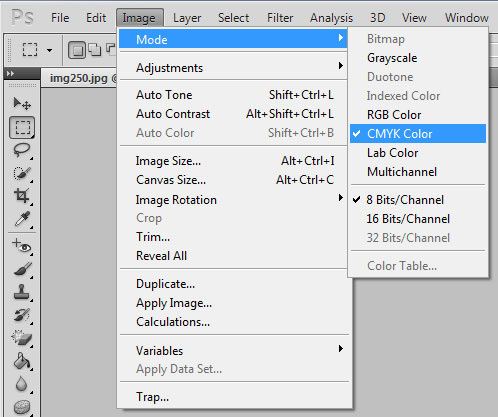
4. If your software can do CMYK, change Mode to CMYK Color.
5. Go to Channels tab, and select the channel which best shows the watermark. The best channel will depend on the stamp color. In this case, if you look closely at the thumbnails next to the individual channels, you can see the swastika watermark in the Yellow channel. (If in RGB Mode as opposed to CMYK, your options will be Red, Green, or Blue)
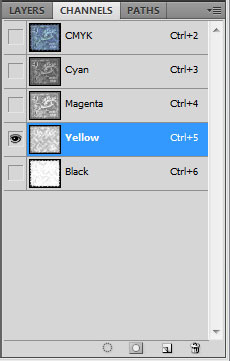
This is what it looks like with just the Yellow channel selected.
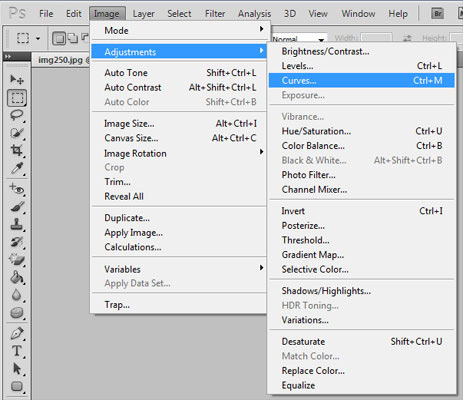
6. Select the Curves adjustment.
7. Adjust the curve line to bring out the watermark. In this case, I bent the curve of the Yellow channel upward.
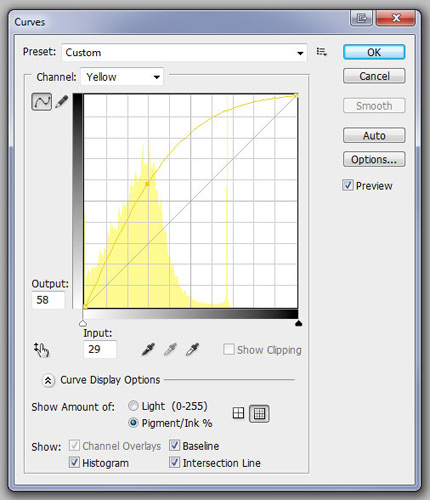
This is the result.
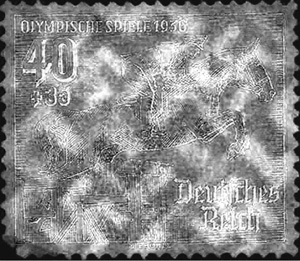
8. Invert the color to go from the negative (as scanned) to positive.
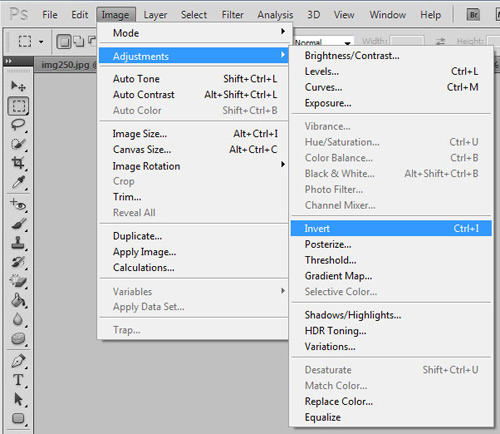
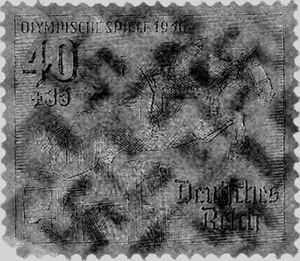
9. The end result.
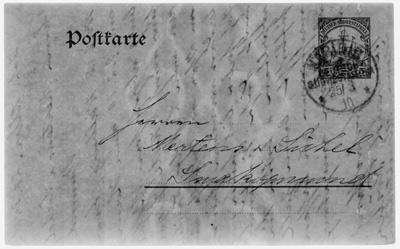
I've also had decent luck using this method on postal stationery, despite the greater thickness.
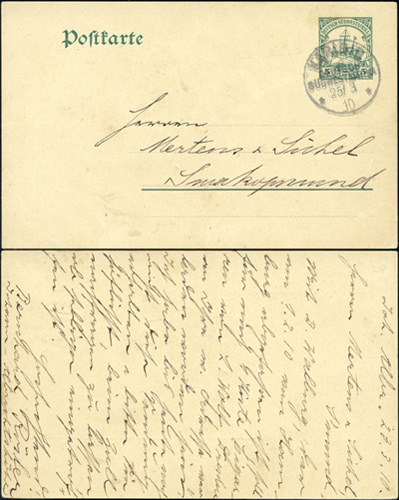
Original
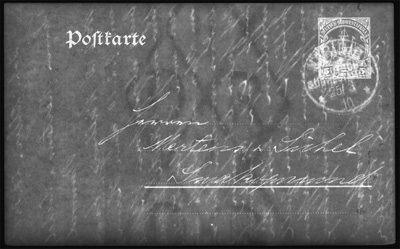
Negative
Positive
For this method to work, you need:
(1) a flatbed scanner capable of scanning film negatives. Most "photo" scanners have this capability, but check your documentation.
(2) photo editing software that can do color curve adjustment. The big 3 -- Photoshop, Photoshop Elements, and Paint Shop Pro X3 -- can all do curve adjustment. I recommend Photoshop or PSP X3, as both allow you to work in CMYK (Cyan, Magenta, Yellow, Black) mode as well as RGB (Red, Green, Blue). The ability to work in CMYK makes this process MUCH easier, and yields much better results. I think the free option, Gimp, will work as well, though it may require a plugin to do CMYK.
All examples shown here were done using an Epson Perfection V350 Photo Scanner with Epson Scan software, and Photoshop CS5.
1. The source -- the stamp used for this example is a beat-up copy of Deutsches Reich Mi 616, from the 1936 Summer Olympics set.
2. In your scanner software, set the scan mode to photo negative.
3. Here's the resulting photo negative scan.
4. If your software can do CMYK, change Mode to CMYK Color.
5. Go to Channels tab, and select the channel which best shows the watermark. The best channel will depend on the stamp color. In this case, if you look closely at the thumbnails next to the individual channels, you can see the swastika watermark in the Yellow channel. (If in RGB Mode as opposed to CMYK, your options will be Red, Green, or Blue)
This is what it looks like with just the Yellow channel selected.
6. Select the Curves adjustment.
7. Adjust the curve line to bring out the watermark. In this case, I bent the curve of the Yellow channel upward.
This is the result.
8. Invert the color to go from the negative (as scanned) to positive.
9. The end result.
I've also had decent luck using this method on postal stationery, despite the greater thickness.
Original
Negative
Positive


